Framing Supplies - Must Haves!
(That are not Essential!)
|
|
Over the years, I have found some neat tools and a bunch of different framing supplies that have made my life in the shop SO much easier. In fact, most of them are now "go to" tools or items I use as I go through the process of making my frames. |
Everyone has their own list, I know, but since this is my web site, I'm listing mine!
Of course, if you would like to share some of your favorite "must have" tools or accessories list them below in the comment box.
Here are my top 5 (plus 1).
You can live without all of them, but why would you - if you don't have to?
Framing Supplies Must Haves #1. Quick clamps
|
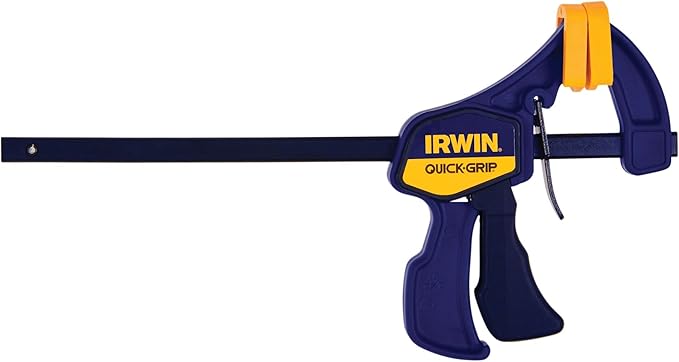
You can never have enough clamps in your shop. Especially quick clamps. Whether you're making custom picture frames, furniture, jewelry boxes or just about anything else, quick clamps will make things a lot easier. |
Not only do they apply a lot of pressure, they're easy to use and, with the quick release trigger, just as easy to take off.
They come in many different sizes. Depending on the brand you buy they can be a little pricey, however they are well worth it.
I found it's better to go with name brands if you can. I have a about a dozen of the Irwin clamp shown here.
Click on the pic to see it on Amazon.
Framing Supplies Must Haves #2. Sanding profiles
|
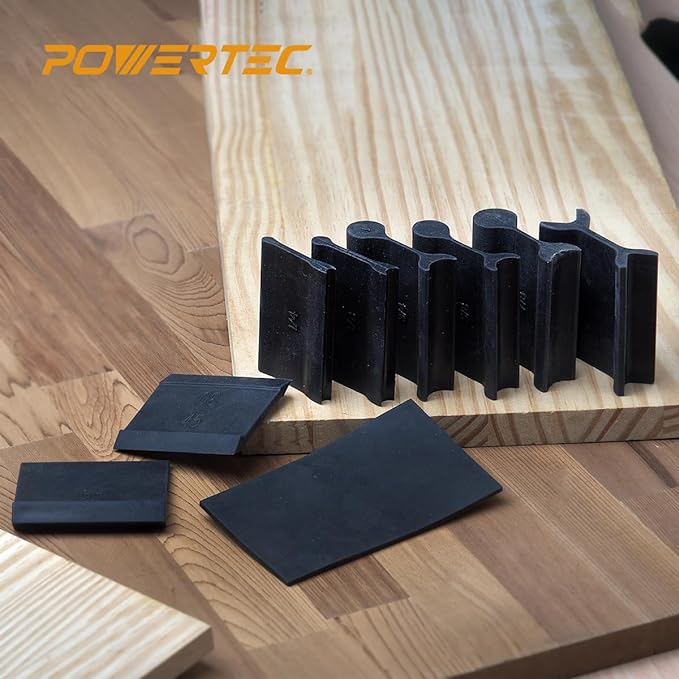
If you've ever tried to sand a decorative edge, like a cove for instance, you know how difficult it can be. Making custom picture frames means A LOT of this type of sanding. Take $15 out of your wallet right now and go buy yourself some of these. Oh, wait a minute! You're on-line... ...just click the picture! |
Basic sets come in cove or convex shapes. You can buy other sets that have many shapes and sizes.
Just put some sandpaper around them and you're good to go. It's easier than wrapping sandpaper around a dowel. Because most are made with rubber, the sandpaper doesn't slip either!
Framing Supplies Must Haves #3. Brass set up blocks
|
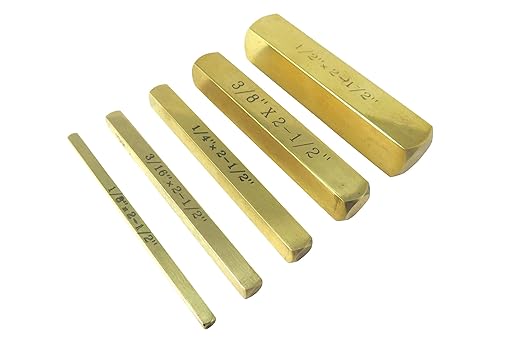
Exactly what they sound like, brass set up blocks help you set the height of your saw blade and router bits. Simply lay the block down and raise the blade to the top of the block. It's that simple. They can even help you measure and draw cut lines for the rabbets you cut into the back of your picture frame rails. |
The blocks are machined to exact measurements in increments from a 1/8" and up.
Framing Supplies Must Haves #4. Sharpening stones
|
When making picture frames a sharp chisel is important when it comes to cleaning up glue squeeze out. To do this properly, and save yourself a lot of time sanding off hardened glue, your chisel has to be sharp. Very sharp. |
Not only will that make it easier to remove the glue it actually makes it safer to use (if you don't force the blade you won't slip, if you don't slip you won't bleed).
You should have at least one good sharpening stone in your shop to keep your chisels up to snuff.
There are complete systems you can buy, not to mention power sharpening stations, but these can rack up the dollars. Look for a Simple sharpening stone that has a different size grit on each side.
With a little elbow grease and some patience, these multi-sharpening stones work just fine. As you improve and grow you can add sharpening equipment to save on time and effort.
I started out using wet stones. They did the job, but became a little more work that I wanted to deal with. They can be messy from the water and shaving slurry. They can wear out unevenly resulting in having to flatten the stone. It's easy to accidently gouge them with the chisel. I know diamond plates, like the one pictured here. One side has a 400 grit, diamond face, the other side has a 1000 grit diamond face. perfect for my needs. Save time sharpening, cleaning up and flattening traditional stones with a diamond plate.
Framing Supplies Must Haves #5. The Gripper
|
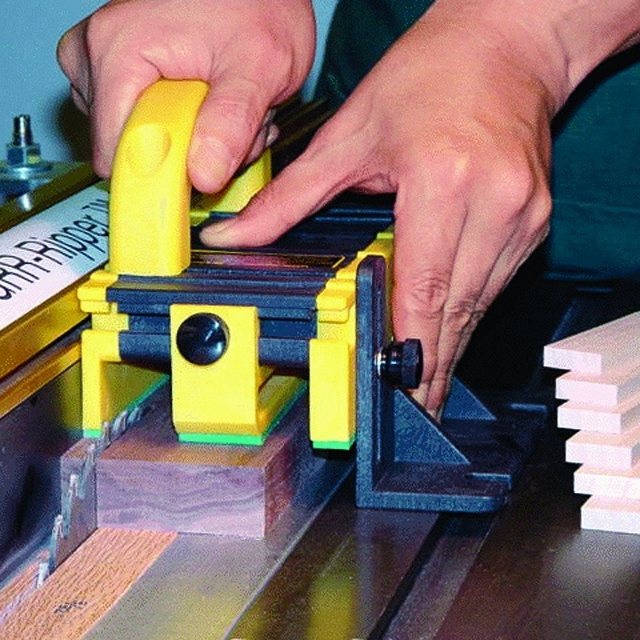
If you own a table saw, a router table, a jointer, or band-saw you should own The Gripper. I will not turn on my table saw anymore without it. Wood working is a dangerous hobby. Invest in your own safety!!!! It's a lot cheaper than a trip to the emergency room, and buying it isn't as traumatic!! |
 |
Framing Supplies Must Haves #6. A great "how to" website
Of course this looks like a cheap plug for picture-frame-it-yourself.com... which I don't deny... :)
...but, the truth is, there is a lot of info on the web that is very helpful. I have learned quite a bit just by reading articles, participating in forum discussions, and in general keeping my eyes open for new ideas and approaches to picture framing and woodworking in general.
Join some forums, make some suggestions here, and start talking with others who love picture framing and wood working. You will improve your skills and confidence. My guess is that you'll also make some friends along the way... Not a bad deal, huh??


Have a question or a comment? This space is for you! Leave it in the box below.