Picture Framing Tools:
Basics You May Already Own.
Chances are pretty good that you already have some of the basic picture framing tools needed to make beautiful frames.
Maybe you already have the most important and versatile of all picture framing tools...
...a table saw.
If you do, and you want to make your own picture frames, you are 95% of the way there.
If you don't, no problem. There are other ways to get the job done.
Below is a few of the most common tools used and some of their pros and cons.
Picture Framing Tools : Table Saws
|
1. cut rails to width and length 2. Cut rabbets in the back of the rails 3. Cut beveled profiles on the inside and outside edges of the rails 4. cut perfect miter corners |
I will cover the different techniques and tips on how to perform all of these functions on a table saw when we get into the actual picture frame construction process.
There are many different saws out there and several ways to set one up. You can have a simple table top saw like the one pictured here which is a great lower cost option, a job site saw, or a permanently placed saw with all the bells and whistles. I started out with Ryobi 3100 then, after almost 20 years with an overperforming $300 saw, I upgraded to a Laguna Fusion 2, hybrid cabinet saw.
In the end, you need to get a saw that is as accurate as possible within your price range. Check out reviews and pay attention to comments on the accuracy of the fence in particular.
While the table saw is the workhorse - if you are looking to add some creativity, decorative profiles and produce even nicer frames some of these other tools, which you may already have, will improve your efficiency and quality:
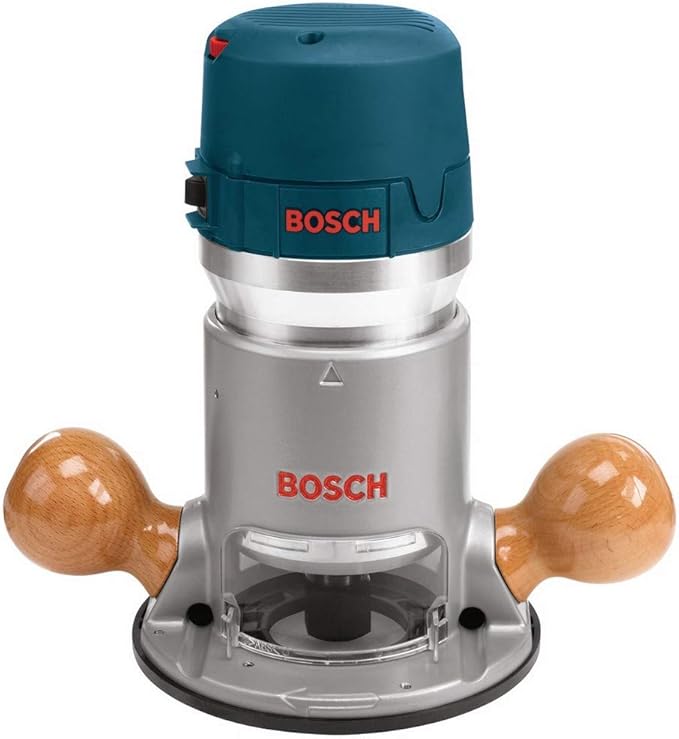
A router is another very versatile tool in the workshop and it eventually ends up on the wish list.
A router can:
|
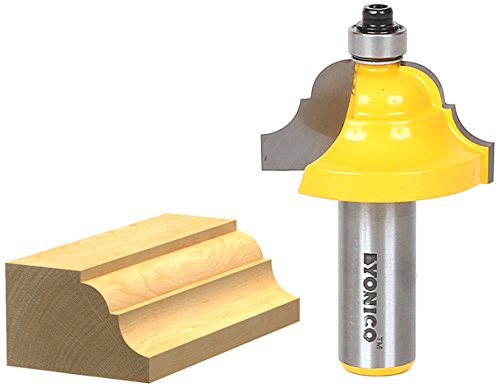
1. Cut decorative profiles on the inside and outside edges and on the face of the frame. 2. Cut rabbets in the back of the rails A few different router bits can create dozens of different profiles. Look at small starter sets that contain the 3 or 4 (or more if you can) most popular bits. A single router bit, the Classic Roman Ogee, pictured here, is all you really need to get started though!! It is the most versatile bit I own. It can create nice coves of various depths, beads and the higher you raise it, the more is creates. If I could only own 1 router bit, the Classic Roman Ogee is the one! |
|
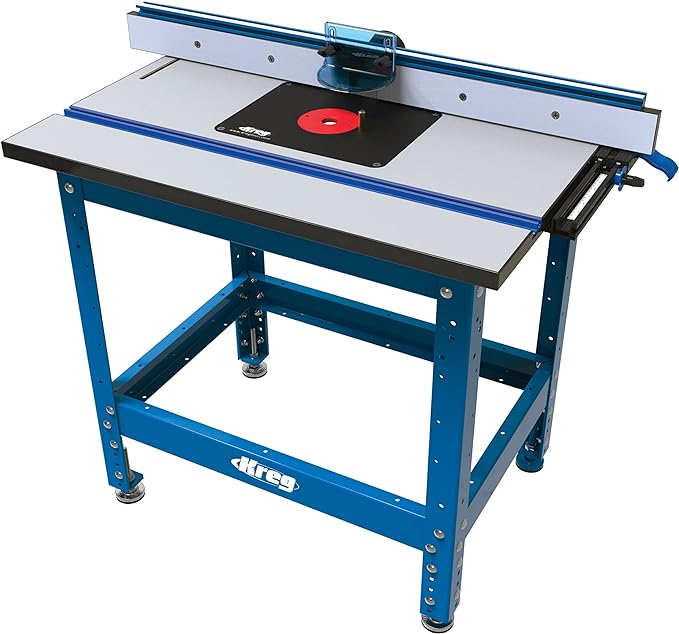
Many people freehand their router work, meaning they hold the router in their hands working around the wood. If you're making picture frames, a router table makes it much easier and, in my opinion, much safer. There are many types of router tables out there and you can even make one of your own. Portability is very important if you don't have a lot of space in your shop, so a table top might be the answer. |
I upgraded to the Kreg model pictured above because of the size of the work surface, the ability to roll it out of the way when I'm finished and the quality of Kreg products.
Power Sanders
When it comes to picture framing tools, an orbital sander shows its value when you reach the finishing stage, (compared to a sheet sander or sanding by hand).
The reason is because it moves around in tiny circles or "orbits" leaving a cleaner, smoother surface, removing scratches as it goes. You can also quickly change grits as you work from course to fine sanding.
A sheet sander moves back and forth (as does sanding by hand) and can leave scratches in the surface that become noticeable during the staining and finishing process. You also have to cut sheets of sandpaper and manually attach them to the sander using what can only be described as a less than convenient way.
If you don't have a power sander, you can get the job done by hand sanding. It just requires a lot more time and a very close eye on the results before you stain or finish the frame.
Miter Saw
There are several different joints you can use to put a picture frame together, but the standard for craftsmanship is a perfect miter joint.
The unfortunate part about that is that the miter joint is also one of the most challenging joints to master. With practice and attention to detail you can create perfect miter joints on a table saw...
...however, a miter saw, with a proper fence system (store purchased or handmade) is also capable of producing accurate, identical cuts and perfect miter joints.
Either way, using a miter saw or a table saw, making sure your blades are set at 45° angles and the opposing rails are identical in width and length is crucial.
If they are off, even slightly, you've got trouble!
Take the time to be sure your saw (whichever you use) is properly aligned, your fence is perfectly aligned and the angle of the cut is exactly 45 degrees.
The bottom line is this, a table saw is number one when it comes to making your own picture frames. You can complete every step required, from cutting to width and length, to cutting rabbets and profiles and, finally, to cutting miter joints. If you have one you don't really need any other tools.
If you have a miter saw it can be dedicated to cutting miter joints. If you have router, you can take making picture frames to a new level with fancy and creative profiles and designs.


Have a question or a comment? This space is for you! Leave it in the box below.